
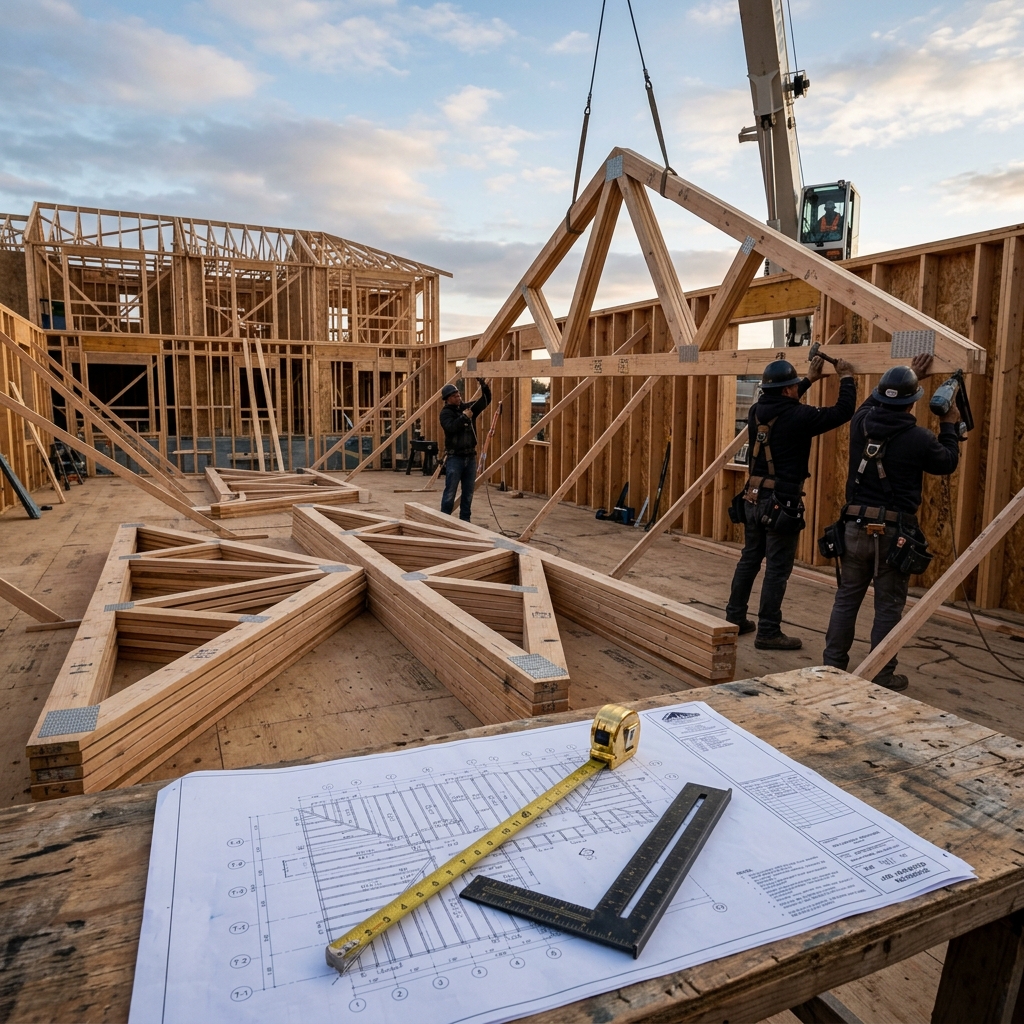
INSTAGRAM REEL LESSON SUMMARY
"Stop guessing your truss spacing. 📐🔨 The answer is already on your blueprint, you just need to know where to look. Do the math and find the exact center-to-center spacing every time!"
WATCH ORIGINAL REEL ON INSTAGRAM →Calculate exact truss count and generate precise top-plate layout tape measure marks (including 3/4" material edge adjustment for 48" sheathing alignment).
| Truss # | Tape Mark | Sheathing Alignment |
|---|
COMMON ON-CENTER (O.C.) SPACING CODES
Roof trusses are engineered components defined on the Truss Engineering Sheet (often Sheet T-1 or S-1 in residential blueprints). Spacing determines maximum live/dead load capacities.
| O.C. Spacing | First Mark | Trusses per 96" (8 Ft) | Typical Application |
|---|---|---|---|
| 24" O.C. | 23-1/4" | 5 Trusses | Standard Residential Roof Trusses (7/16" OSB Sheathing w/ clips) |
| 19.2" O.C. | 18-7/16" | 6 Trusses | Engineered I-Joists & High Load Truss Layouts (19.2" black diamonds on tape) |
| 16" O.C. | 15-1/4" | 7 Trusses | Heavy Snow Load Roofs, Floor Joists, Exterior Bearing Walls |
| 12" O.C. | 11-1/4" | 9 Trusses | Tile Roofs, Commercial Floor Assemblies, High Seismic Zones |
TOP PLATE LAYOUT & SHEATHING EDGE ALIGNMENT
Why do framers mark 23-1/4" instead of 24" for the first truss? Because the first truss sits flush with the outside wall edge. Subtracting half the truss thickness (3/4") aligns all subsequent 4'x8' plywood or OSB sheathing joints right on the center of the truss wood!
(Total Wall Length in Inches ÷ O.C. Spacing) + 1. Always round up and add 1 for the starting end truss.
QUIZ: TEST YOUR TRUSS LAYOUT KNOWLEDGE
Question 1 of 1: On a 24" On-Center roof truss layout, where do you mark your tape for the very first common truss from the exterior wall edge?